This is the Best Mortar Mix to Lay Paving No Matter What…

If you google what is the best bedding mortar mix for your paving slabs you get all the ratios possible, but the problem is that you have to choose only one of all these when all of them looks so correct.
Even what’s said by some of the experts in the industry, people who are new to all this find it difficult to work with if they’re new to all these things.
DIYer here. I read loads on mortar mixes and ended up following the Marshalls site which says 3:1 sharp:cement. In reality that’s far too difficult to work and it would have benefited from plasticiser and/or building sand to make it more buttery. And there’s no need to use that much cement. Save some cash and go with 4 or 5 sand to 1 of cement.
Note from a DIYer
Some say whatever the ratio I am using is the most correct as I never had a problem with it and I have been using it for the past 10 years while, others are like no-no what I’m using with builders sand/plasticiser is the best, and I’m using it for the last 20 years so it’s 20 years guaranteed.
So there is no standard ratio, everyone has different options from their past experience or what they have been taught/advised to use. In this situation, how is anyone going to decide what ratio to go with when all of them look so correct and promising?
Is there any fix answer for the mix ratio that someone can tell so I can go with it? (Yes there is with a strong reason why should use this particular ratio which is also mentioned in our DIYer’s Start to Finish Patio Guide here.)
What is the most correct mortar mix ratio?
To make this task simple, I thought I would rather ask hundreds of professionals and DIYers what mix they prefer or have used for their job and if it worked well, and then the most used mix will be the one to go with as it will be the most guaranteed and workable that is why most are using it, and you can do the same. Simple!
However, the most commonly used bedding mortar mixes for laying paving slabs were all of these, 4:1, 5:1 as well as 6:1 as there are many people who use and recommend each of these because all these mixes are perfectly acceptable
So it tells us that it doesn’t matter if you use one extra part of sand or cement in your mix as it is not the end of the world. The slabs are likely to stick to the mortar bed. But still, we don’t feel confident enough to proceed with any one of these. So here we go.
If you are a DIYer and laying slabs for the first time, 6:1 (sharp sand to cement) is the mix to go with because the bed it creates under the paving slabs is kind of permeable (allowing water to pass through) and you may benefit from it during the grouting process.
Read the post below to know exactly how it may help you or benefit you with grouting. By the way, you must check out our DIY Start to Finish Patio Cheat Sheet (for that click here). There are things that you should consider as a DIYer t
Mix depends on what you’ve decided to point with
Gone are the days when you have to only depend on the sand and cement for pointing. There are various grouting solutions on the market that you may have heard of or even might be thinking of using once you lay the slabs.
Know as brush-in jointing compounds, these are pre-mixed joint fillers that just need to be brushed into the joints of the slabs with enough presence of water. It’s more than 10x faster as there is no need to fill each and every joint manually as we do with sand and cement mortar using the trowel.
If you are a DIYer laying paving for the first time, when mixing mortar for laying slabs you might haven’t even thought of what you’ll be using for grouting but the mortar mix that you use might limit the types of grouting solutions that you could you later on.
Even though there are mixed reviews on using brush-ins and most professional installers don’t prefer brush-ins for many reasons, but it’s still a very popular solution for grouting amongst the DIYers because of how easy it’s to use and people who want to do it quickly without any hassle, and the different colours they’re avaiable in makes them look much interesting when finished.
I’ve seen people regret not having a permeable mortar bed under the slabs as they want to use a brush-in compound for jointing and have even purchased it but didn’t know that they need a permeable bed underneath prior to laying slabs unless they see the specifications by manufacturer.
Most of the water is taken out off the patio with correct falls, however, if you will be pointing with one of these, it is recommended to have a permeable mortar bed underneath as these jointing compounds are permeable themselves and have a non-permeable bed underneath will let the water seat into the joints damaging the pointing or may discolour it.
There are very simple mistakes to make as a first-timer just to realise the job needs to be redone from starting because of some small things that you lack to know before the job, and it’s not your fault, it is just because you don’t have prior experience in laying the slabs.
This is why we put together this DIY Start to Finish Patio Cheat Sheet to bring to your attention how DIYers can approach the job a little differently so that you can give yourself the best chance of success even without any experience.
What if you’ll not be using a brush-in compound?
Even if you don’t want to use a brush-in compound for pointing the slabs, the 6:1 mix is perfectly fine, and it’s still recommended that you should go with 6:1 if you are even a little bit unaware of what to use for grouting.
However, if you have made a firm decision that you’ll not use a permeable brush-in compound and will point with sand and cement or proper external non-permeable grout, then and only then go with 4:1 or 5:1.
Everyone will have their own way of doing it which is completely fine if it works for them.
Don’t need to complicate the job because everyone has their different opinions on anything you would ask, so eventually, it becomes a problem for us. Just follow a proven process.
Instead, focus on the things which are actually important such as getting the falls rate correct, otherwise, once you notice that the paving holds water no matter what you grout the with, the grout will fail, for sure, in that spot because of the excess contact of water.
Ideal thickness for the mortar bed to lay slabs on
One thing you have to remember is the main strength of the paving is in the sub-base and not in your mortar mix ratio or the thickness of the bed.
It’s actually like what ratio to use to mix mortar – everyone has different answers. Some lay on 20, some on 30mm, and even up to 50mm is done by some installers.
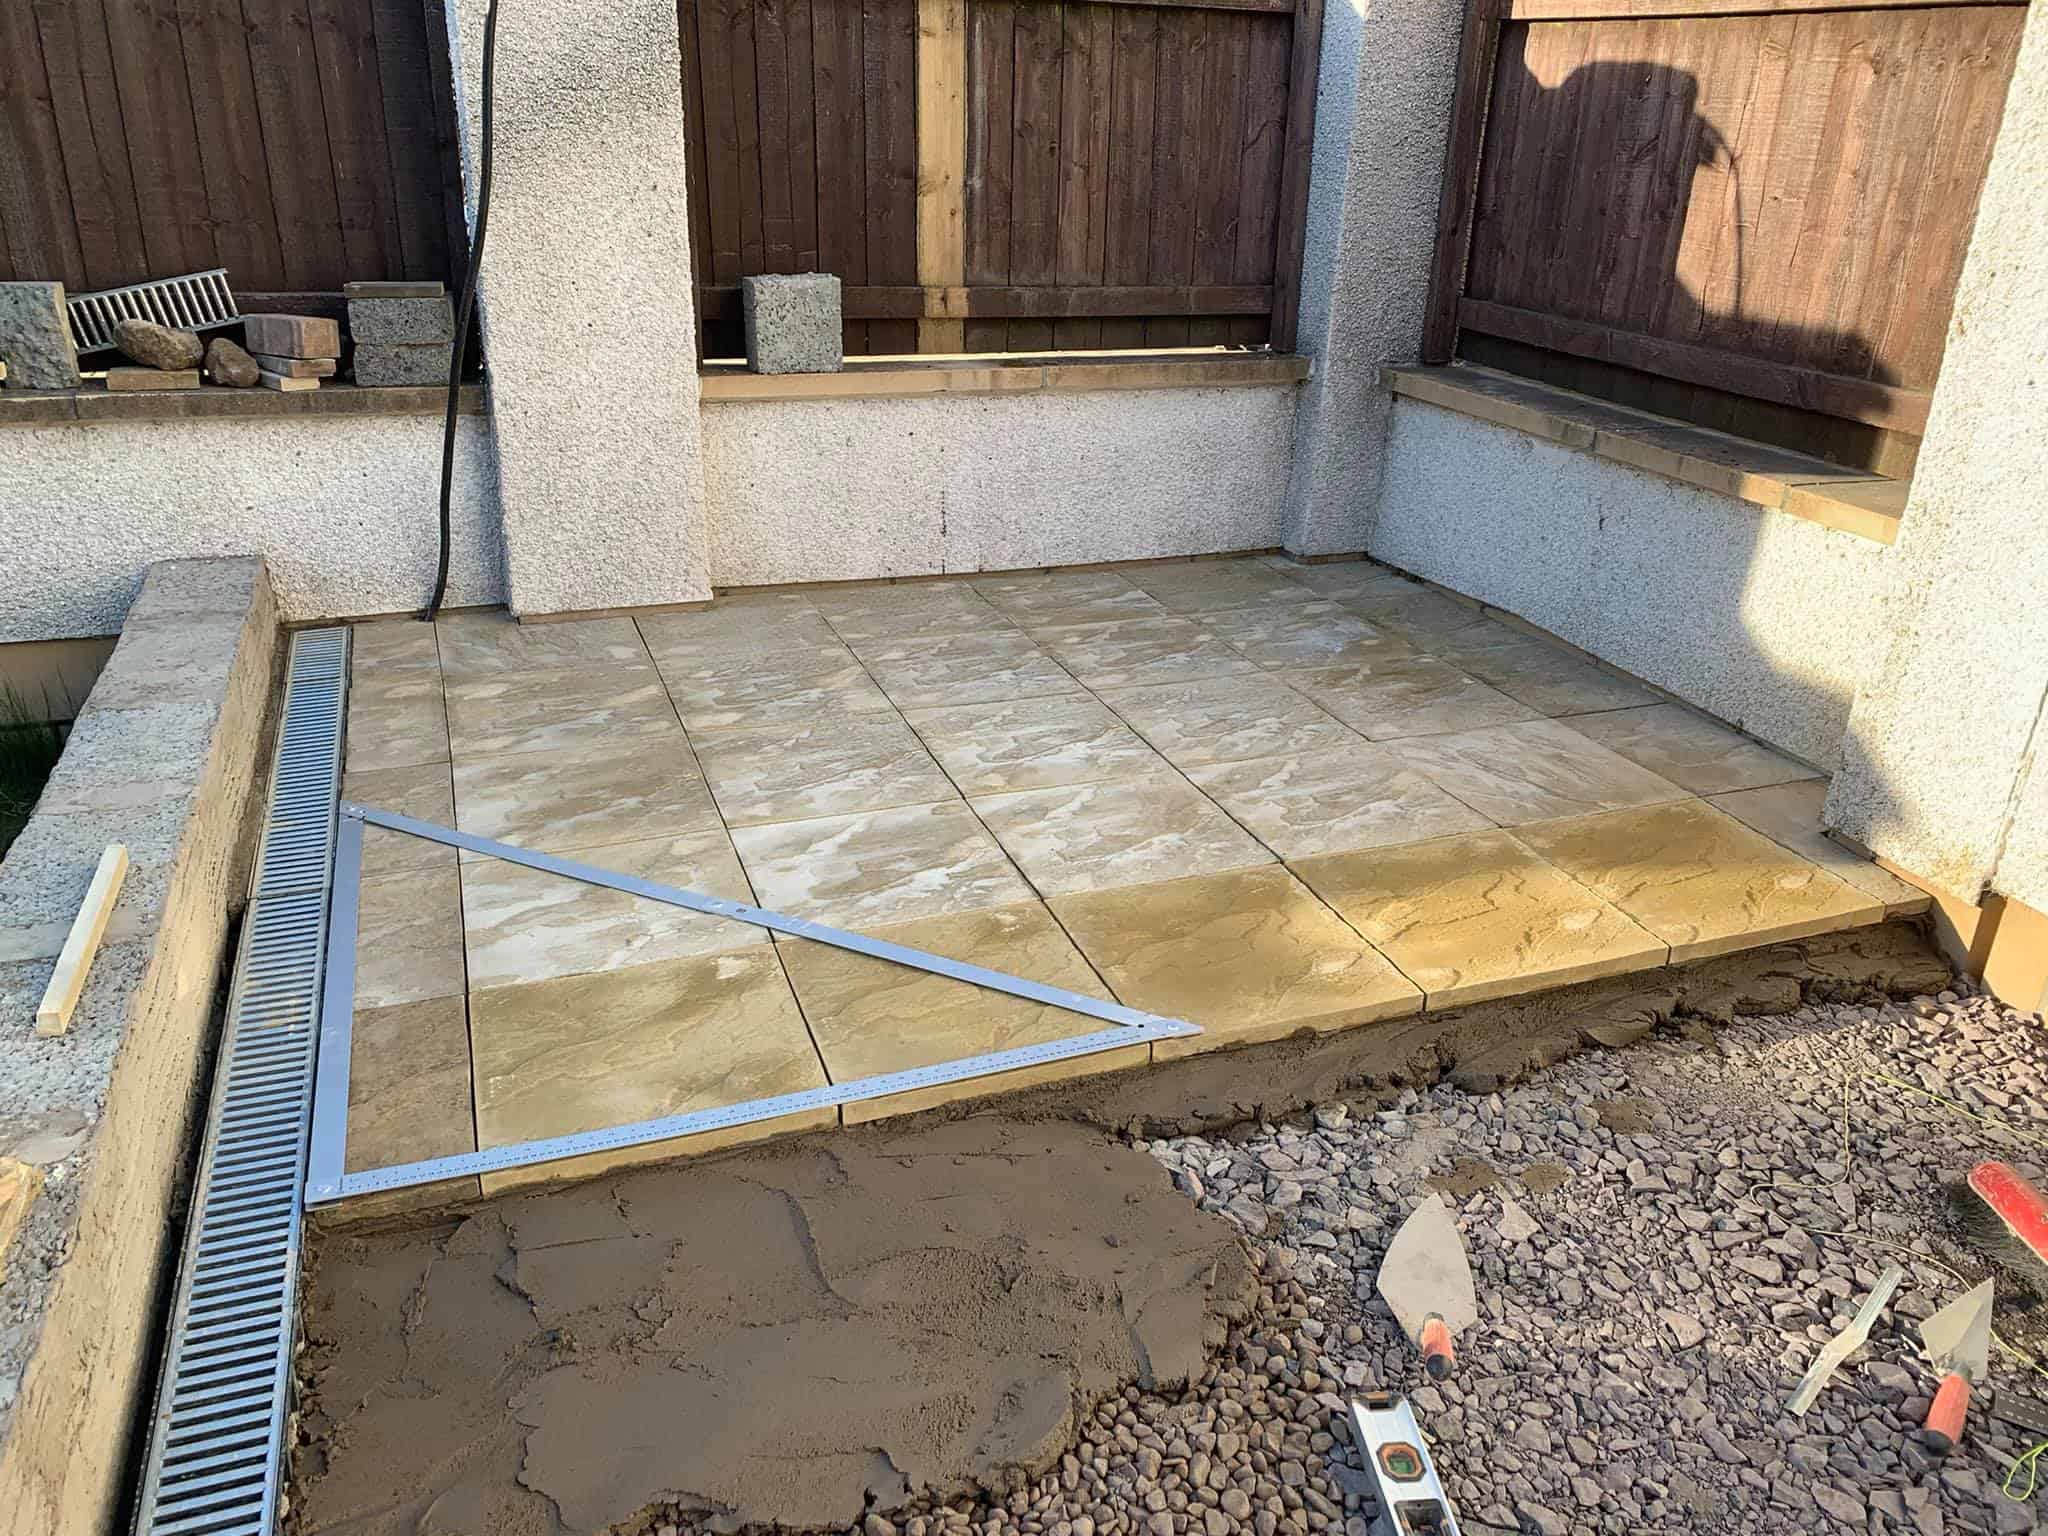
A 30mm bed is more than fine to lay paving slabs if you have got a solid sub-base underneath as you’ll be progressing much faster as well as reduce some costs compared to doing a thicker bed like 50mm, for example.
also read: How much mortar do I need to lay a paving
If sand is already moist, there’s no need to put much water into your mix
No matter how much you have worked to get the mix right, remember priming the back of the slabs is must. If not it reduces the chances of slabs sticking to the mortar.
Some people use it, some are against it. However, things are changing with the times, and now the best practice is to have something on the back of the slabs for better bonding to be on the safer side instead of nothing at all.

Get the DIYer’s Start to Finish Patio Cheat Sheet
✓ A handy little PDF book to sanity check things as you go and think through each step in your DIY paving project making you confident in what you are doing even when you’re not a professional paving installer.
How to proceed with mixing the mortar?
If you are mixing in a bucket: If you
If you are mixing in a wheelbarrow:
If you are mixing in a mixer:

Are your ratios by weight or by volume?
It doesn’t really matter because we are taking a ratio of two things so the result is going to be the same. Usually, it’s the shovel used to gauge and deploy sand and cement in the mixture so it’s mostly by volume.